
Homemade Neapolitan Ice Cream is a timeless frozen dessert that brings together three beloved flavors in one colorful container—sweet strawberry, smooth vanilla, and rich chocolate. This classic treat has been enjoyed for generations because it offers something for everyone. Each scoop delivers a perfect balance of fruity freshness, creamy vanilla, and deep chocolate flavor, making it an ideal dessert for family gatherings, birthday parties, summer celebrations, or simply cooling down on a warm afternoon.
Making Neapolitan ice cream at home is easier than you might think. With a rich homemade ice cream base and a few simple ingredients, you can create a dessert that tastes even better than many store-bought versions. The combination of fresh dairy, natural vanilla, cocoa, and strawberry creates an incredibly creamy texture that melts beautifully in every bite.
Whether you own an ice cream maker or prefer the no-machine method, this recipe produces smooth, flavorful ice cream with a luxurious consistency. The beautiful three-color presentation also makes it a show-stopping dessert that everyone will admire before taking the first delicious spoonful.
Why You’ll Love This Recipe
- Rich, creamy, and incredibly smooth.
- Three classic flavors in one dessert.
- Easy to customize with your favorite mix-ins.
- Made with simple everyday ingredients.
- Perfect for birthdays, holidays, and summer parties.
- No artificial preservatives.
- Freezer-friendly for up to two weeks.
- Suitable for beginners.
Ingredients
Ice Cream Base
- 2 cups (500 ml) whole milk
- 2 cups (500 ml) heavy cream
- 1 cup (200 g) granulated sugar
- 2 tablespoons cornstarch (optional, for extra creaminess)
- 2 teaspoons vanilla extract
Strawberry Layer
- 2 tablespoons strawberry puree or strawberry flavoring
- Pink food coloring (optional)
Chocolate Layer
- 2 tablespoons unsweetened cocoa powder
- 2 tablespoons chocolate syrup (optional)
Vanilla Layer
- Reserved vanilla ice cream base
Equipment Needed
- Large saucepan
- Whisk
- Mixing bowls
- Measuring cups and spoons
- Rubber spatula
- Loaf pan or freezer-safe container
- Ice cream maker (optional)
- Plastic wrap or airtight lid
Step-by-Step Instructions
Step 1 – Prepare the Cream Base
Pour the milk and heavy cream into a large saucepan. Add the sugar and whisk until well combined.
Heat over medium heat while stirring continuously until the sugar has completely dissolved. The mixture should become hot but should never boil.
Step 2 – Thicken the Mixture
If using cornstarch, dissolve it in two tablespoons of cold milk.
Slowly whisk the cornstarch mixture into the warm cream.
Continue stirring for about 3 minutes until the mixture thickens slightly.
Remove from the heat.
Step 3 – Add Vanilla
Stir in the vanilla extract.
Allow the mixture to cool at room temperature for about 30 minutes.
Transfer it to the refrigerator and chill for at least 2 hours.
A well-chilled mixture freezes faster and develops a creamier texture.
Step 4 – Divide the Base
Pour the chilled mixture evenly into three bowls.
Bowl One
Leave plain for the vanilla flavor.
Bowl Two
Mix in the strawberry puree or strawberry flavoring.
Add a drop or two of pink food coloring if you want a brighter color.
Bowl Three
Whisk in the cocoa powder until completely smooth.
For extra richness, stir in the chocolate syrup.
Step 5 – Freeze the Mixtures
With an Ice Cream Maker
Churn each flavor separately according to the manufacturer’s instructions until thick and creamy.
Without an Ice Cream Maker
Pour each mixture into shallow containers.
Freeze for about 30 minutes.
Remove and stir thoroughly with a fork or electric mixer.
Repeat every 30–40 minutes for about 4 hours.
This breaks up ice crystals and creates a silky texture.
Step 6 – Assemble the Layers
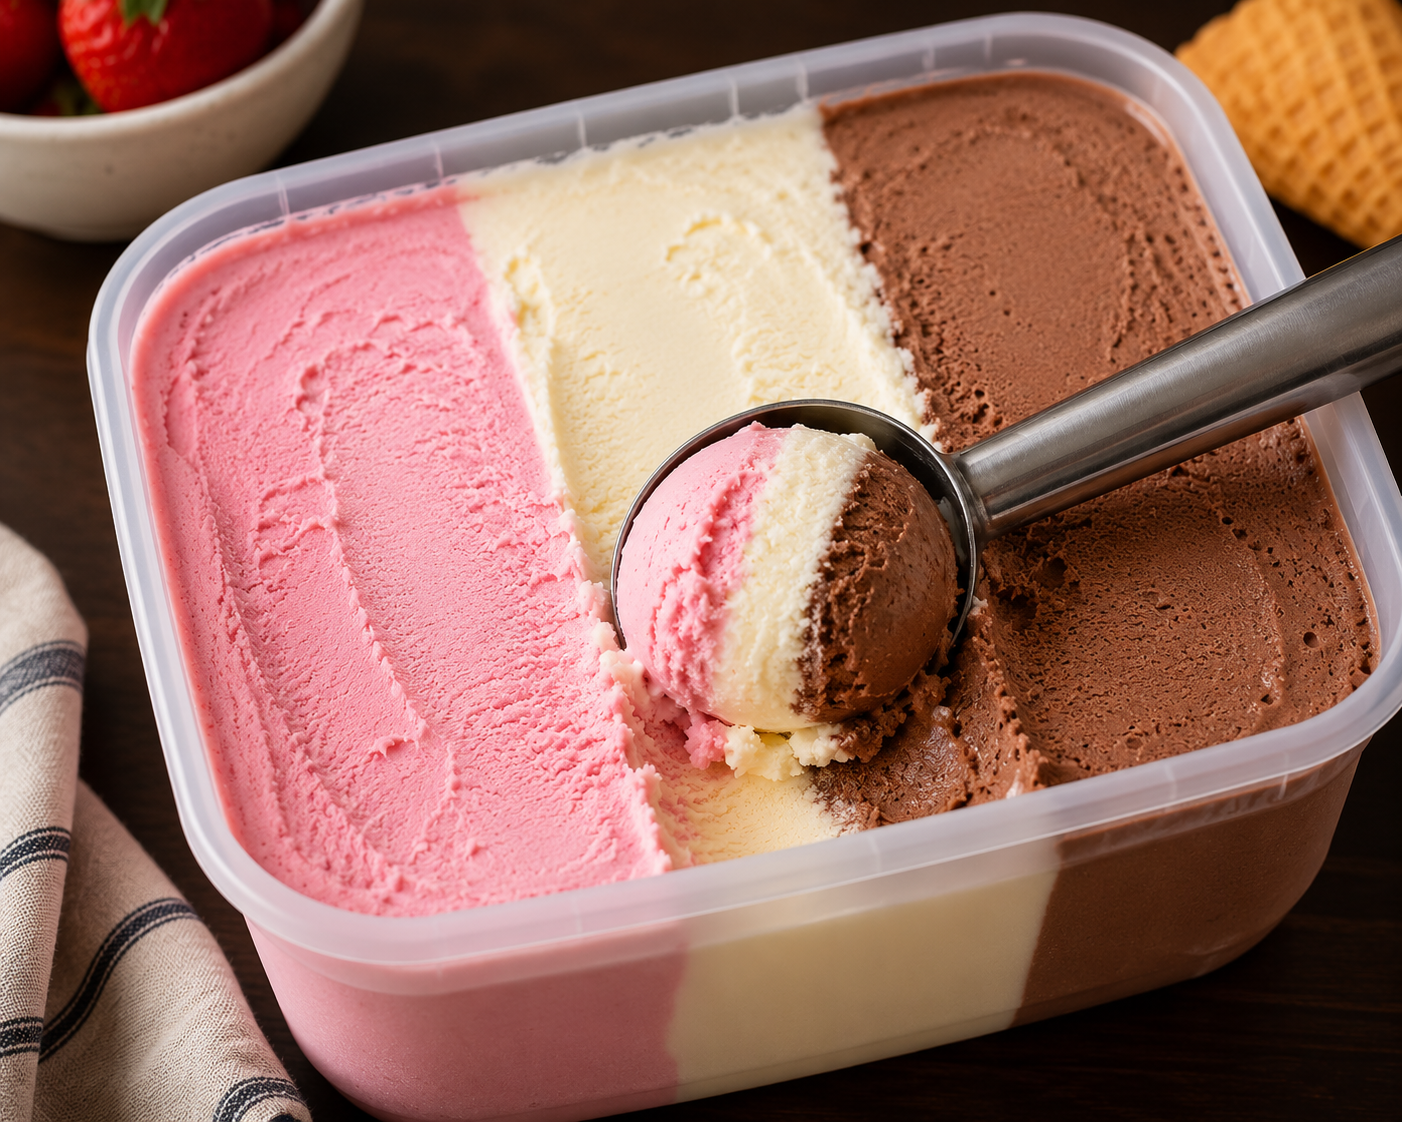
Once the three flavors have reached a soft-serve consistency, spoon them into a freezer-safe container.
Arrange the flavors side by side:
🍓 Strawberry
🤍 Vanilla
🍫 Chocolate
Smooth the surface using an offset spatula.
Step 7 – Final Freeze
Cover tightly with plastic wrap directly touching the surface.
Seal with the lid.
Freeze for 6–8 hours or overnight.
Step 8 – Serve
Remove the container from the freezer about five minutes before serving.
Using an ice cream scoop, scoop across all three flavors to enjoy the classic Neapolitan combination in every serving.
Tips for Perfect Ice Cream
- Use full-fat dairy for maximum creaminess.
- Chill the base completely before freezing.
- Fresh strawberry puree provides the best flavor.
- Sift cocoa powder to prevent lumps.
- Do not overheat the milk mixture.
- Cover the surface with plastic wrap to minimize ice crystals.
- Freeze overnight for the best texture.
Flavor Variations
Cookies & Cream
Mix crushed chocolate sandwich cookies into the vanilla layer.
Chocolate Fudge
Add chocolate chunks and fudge sauce to the chocolate layer.
Berry Deluxe
Mix blueberries and raspberries into the strawberry layer.
Coffee Chocolate
Add 1 teaspoon espresso powder to the chocolate mixture.
Birthday Cake
Fold colorful sprinkles into the vanilla layer before freezing.
Serving Ideas
Serve your homemade Neapolitan ice cream with:
- Fresh strawberries
- Chocolate sauce
- Caramel drizzle
- Whipped cream
- Waffle cones
- Brownies
- Chocolate chip cookies
- Belgian waffles
- Pancakes
- Fresh mint leaves
- Toasted almonds
- Chocolate shavings
Storage Instructions
Store in an airtight freezer-safe container.
For the best flavor and texture, enjoy within 2 weeks.
Avoid frequent thawing and refreezing, as it can create ice crystals and reduce creaminess.