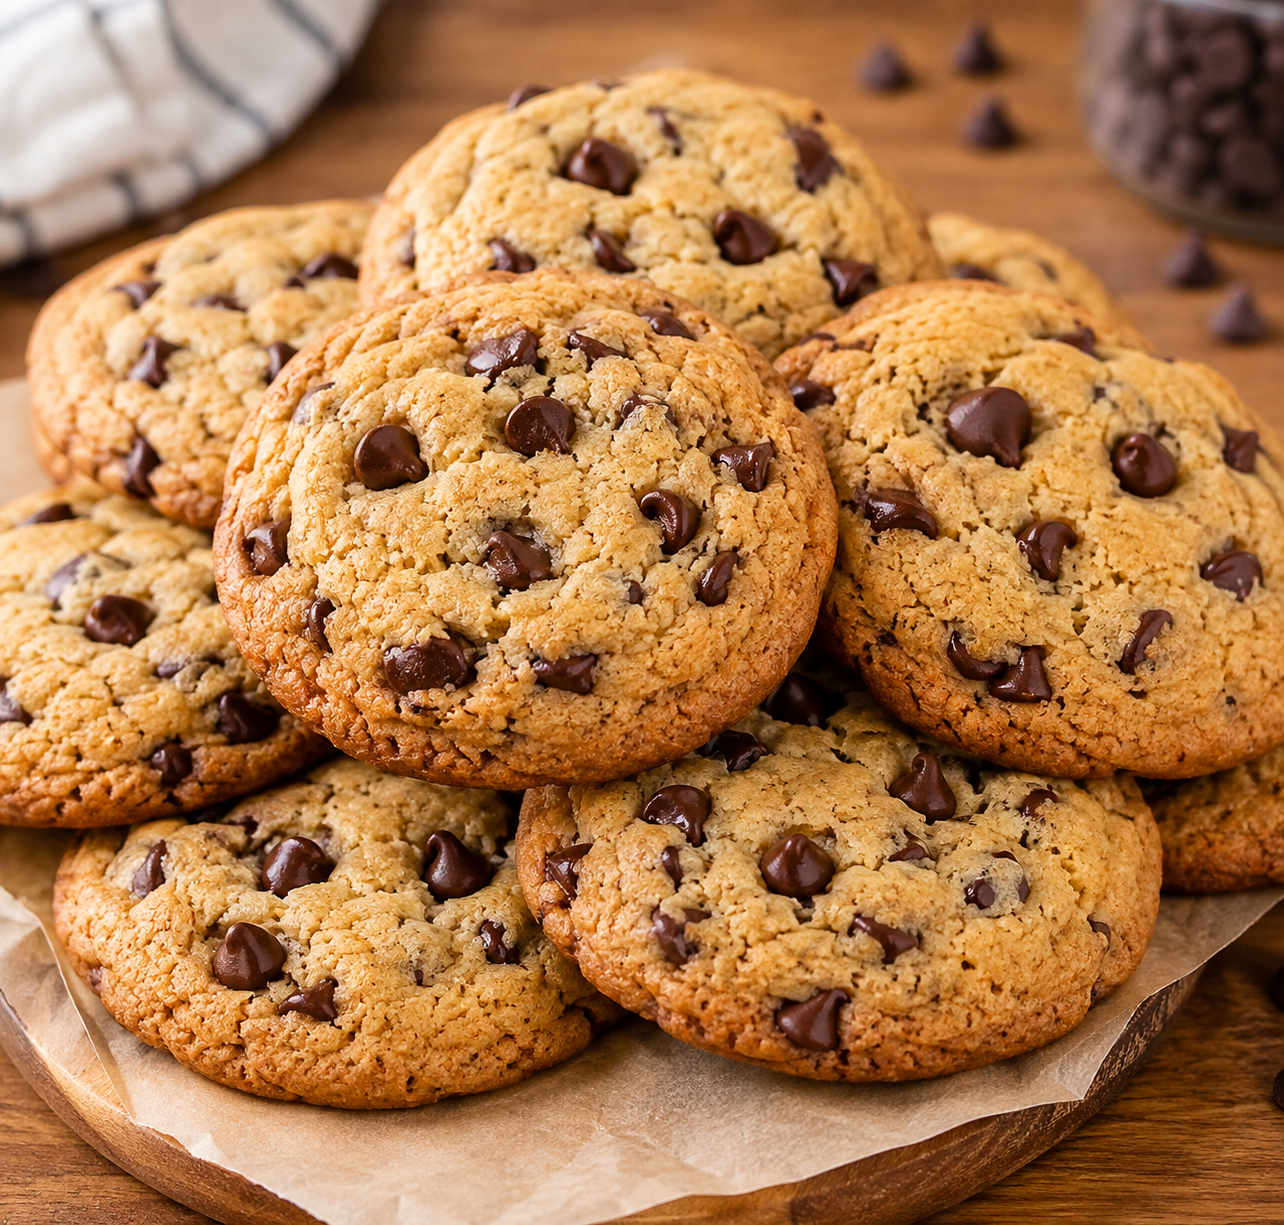
There is something truly comforting about a batch of warm, homemade chocolate chip cookies fresh from the oven. Their irresistible aroma, crispy golden edges, soft and chewy centers, and rich chocolate chips make them one of the world’s most loved desserts. Whether you’re baking for a special celebration, preparing an afternoon snack, or simply satisfying a sweet craving, these classic cookies are guaranteed to impress.
Made with simple ingredients that are probably already in your kitchen, this recipe is beginner-friendly yet delivers bakery-quality results every single time. The butter creates a rich flavor, the vanilla adds warmth, and the chocolate chips melt into delicious pockets of sweetness. Every bite is perfectly balanced with a tender crumb and just the right amount of crunch around the edges.
One of the best things about this recipe is its versatility. You can enjoy the cookies exactly as they are or customize them with your favorite mix-ins such as chopped walnuts, pecans, white chocolate chips, dark chocolate chunks, caramel bits, or even colorful candy-coated chocolates. No matter how you personalize them, they’ll disappear quickly from the cookie jar!
📝 Ingredients
- 100 g unsalted butter, softened
- 175 g granulated sugar
- 1 large egg
- 1 pinch salt
- A few drops of vanilla extract
- 200 g all-purpose flour
- 1 teaspoon baking powder
- 100–150 g chocolate chips
👩🍳 Step-by-Step Instructions
Step 1: Prepare Everything
Preheat your oven to 180°C (350°F). Line one or two baking trays with parchment paper or a silicone baking mat. Allow the butter and egg to come to room temperature for easier mixing and a smoother dough.
Step 2: Cream the Butter and Sugar
In a large mixing bowl, beat the softened butter together with the sugar using an electric mixer or a wooden spoon. Continue mixing for about 3–5 minutes until the mixture becomes pale, light, and fluffy. This step incorporates air into the dough, helping create cookies that are soft inside while remaining slightly crisp around the edges.
Step 3: Add the Wet Ingredients
Crack the egg into the bowl, then add the vanilla extract and the pinch of salt. Beat until everything is fully incorporated and the mixture looks smooth and creamy.
Step 4: Incorporate the Dry Ingredients
Sift together the flour and baking powder before gradually adding them to the wet ingredients. Stir gently until no dry flour remains. Avoid overmixing because it can make the cookies tough instead of tender.
Step 5: Fold in the Chocolate Chips
Add the chocolate chips and fold them into the dough using a spatula or wooden spoon. Make sure they’re evenly distributed so every cookie is filled with plenty of chocolate.
Step 6: Chill the Dough (Optional but Recommended)
For thicker cookies with a richer flavor, cover the dough and refrigerate it for 20–30 minutes. Chilling prevents excessive spreading during baking and creates a chewier texture.
Step 7: Shape the Cookies
Using a cookie scoop or tablespoon, scoop equal portions of dough and roll them into balls. Place them on the prepared baking tray, leaving about 5 cm (2 inches) between each cookie. Lightly flatten the tops with your hand if desired.
Step 8: Bake
Bake the cookies for 10–12 minutes. The edges should be lightly golden while the centers still appear soft. Resist the temptation to bake longer—the cookies will continue cooking on the hot tray after they’re removed from the oven.
Step 9: Cool
Allow the cookies to cool on the baking tray for 5 minutes before transferring them to a wire rack. This helps them firm up without becoming dry.
Step 10: Serve
Enjoy the cookies while they’re still warm and the chocolate chips are deliciously melted, or let them cool completely for a perfectly chewy texture.
🍫 Expert Baking Tips
- Use real butter instead of margarine for the richest flavor.
- Room-temperature ingredients blend together more easily and produce a smoother dough.
- Chilling the dough enhances both texture and flavor.
- Slightly underbake the cookies if you prefer a soft, chewy center.
- Use a combination of milk chocolate and dark chocolate chips for extra depth of flavor.
- Sprinkle a tiny pinch of flaky sea salt over the cookies before baking to balance the sweetness.
- Bake one tray at a time for the most even results.
🍪 Delicious Variations
Want to make these cookies even more exciting? Try one of these variations:
- Double Chocolate Cookies: Add 2 tablespoons of cocoa powder to the dough.
- Nut Lovers: Mix in chopped walnuts, pecans, or almonds.
- White Chocolate Cranberry: Replace the chocolate chips with white chocolate chips and dried cranberries.
- Triple Chocolate: Use milk, dark, and white chocolate chips together.
- Caramel Chocolate Cookies: Add caramel bits for a gooey surprise.
- Peanut Butter Chocolate Chip Cookies: Stir in 2 tablespoons of peanut butter before adding the flour.
🥛 Serving Suggestions
These cookies taste amazing served:
- With a cold glass of milk.
- Alongside freshly brewed coffee.
- With hot chocolate on chilly evenings.
- As ice cream sandwiches filled with vanilla ice cream.
- Crumbled over yogurt, pudding, or ice cream.
- Packed into lunchboxes for a sweet homemade treat.
🧊 Storage
Store the cooled cookies in an airtight container at room temperature for up to 5 days. To keep them soft, place a slice of bread in the container—the cookies will absorb moisture from the bread.
The cookie dough can also be refrigerated for 3 days or frozen for 3 months. Simply thaw overnight in the refrigerator or bake directly from frozen by adding 1–2 minutes to the baking time.